 NIXIE CLOCK DIY

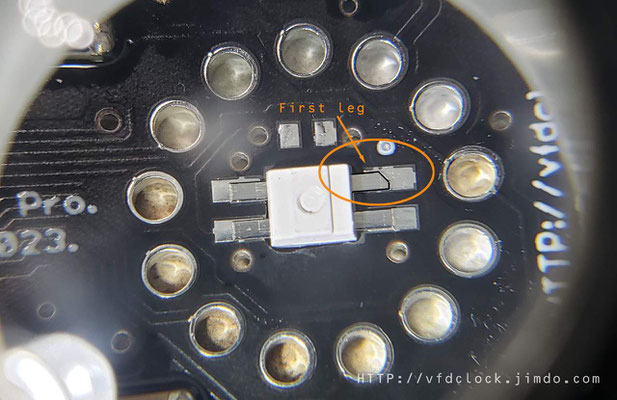

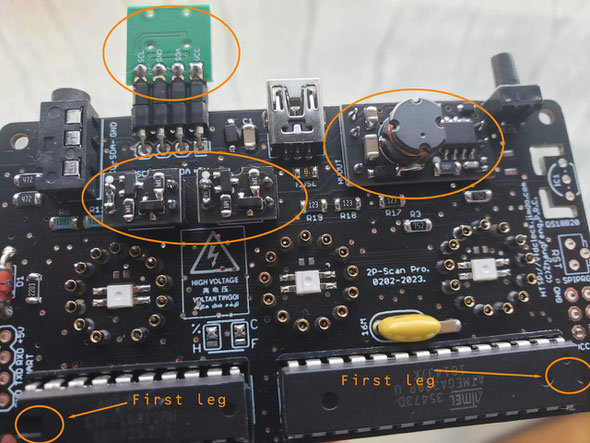
Solder the LED ,plug the LED on the bottom side of PCB,the lighting side face on the top of PCB,sware the first leg of LED as shown on Pic.
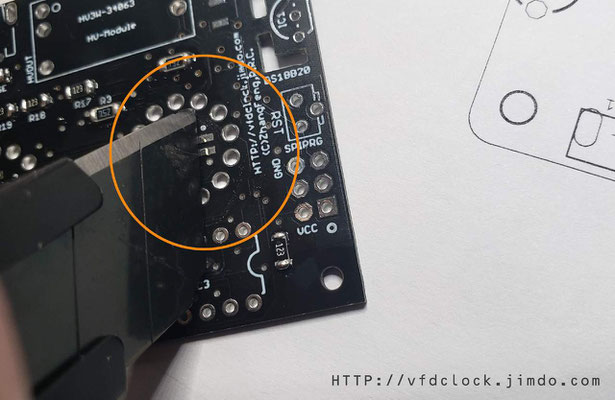
LEDs are heat sensitivity equipments, if possible, use 130C low temperature soldering wire,or use a slice metal(the pic shows back side of a paper knife blade) as heat sink,the solder the LEDs,and if possible,protect the nuxie holes by using kaptin tape.
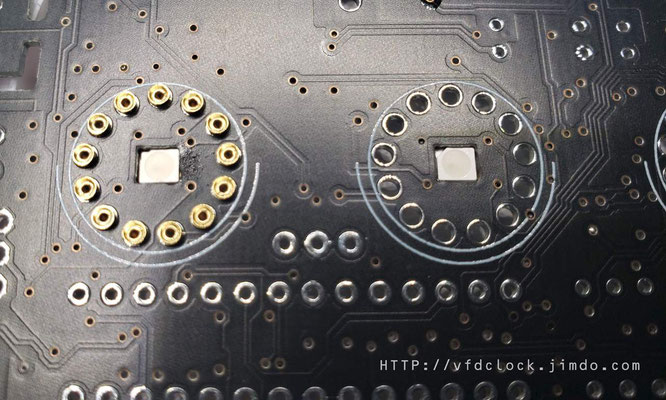
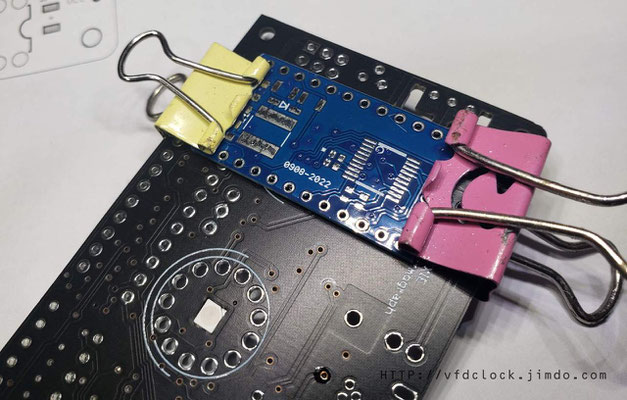
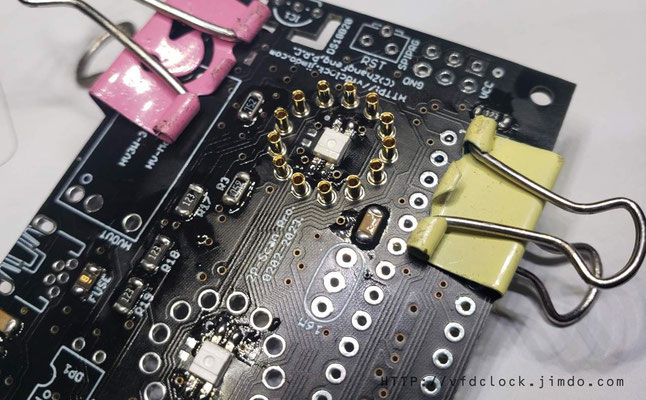
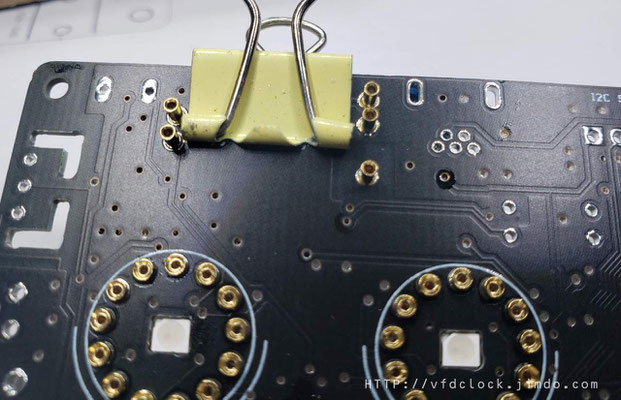
Solder the socked pins of Nixie tubes. First plug all female pins from the top side of PCB,then clip it on by using a small size PCB on the top with a clip.
Flip to the bottom and solder all pins on.
When done


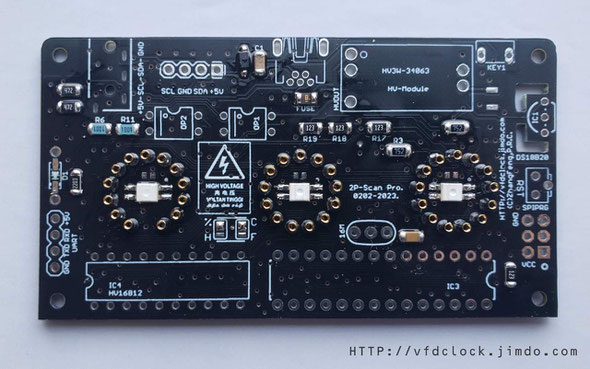
Solder the HV module 5 pins female sockets.Same clip on skill.

Solder the I²C 4-pin socket,big glass diode,16M resonaror(both mounting directions are all ok) and the USB socket.
Solder all the IC sockets,aware all the sockets direction.
Then wash the PCB to make it clean.
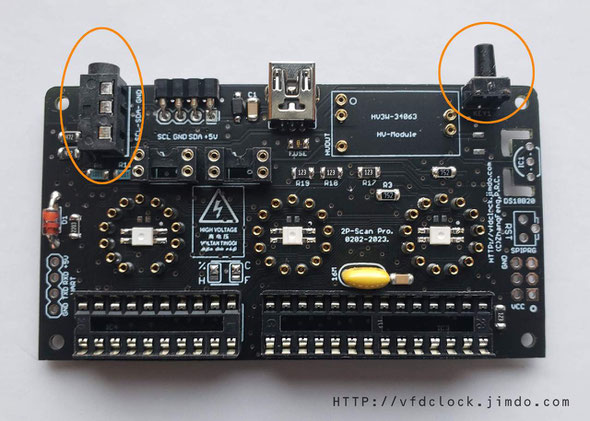
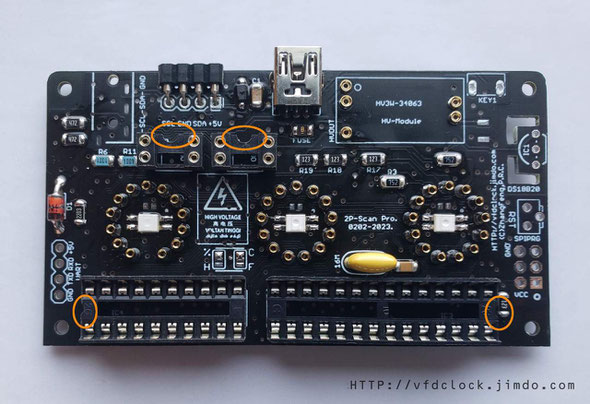
Solder the 3.5mm audio socket and button. These two equipments can not be washed.
Plug all the ICs and OP modules and HV3W DC-DC module and the sensor(face top).

Solder 4-pin male pins on the top of sensor module.
